-
Essential:
Essential cookies are essential for you to browse the website and use its features. Cookies that allow web shops to hold your items in your cart while you are shopping online and navigating the website are an example of strictly necessary cookies. Our website does not work without these cookies, so they are stored without your express consent.
-
Preferences cookies:
Preferences cookies can be used to change the user experience of our website. Preferences cookies allow a website to remember choices you have made in the past.
-
Statistics cookies:
Statistics cookies are used to collect information about how you use our website. None of this information can be used to identify you.
-
Marketing cookies:
Marketing cookies track your online activity. The purpose of marketing cookies is to help advertisers deliver more relevant advertising or to limit how many times you see an ad.


Wood surfaces in order – How to treat raw surfaces correctly in your recreational vehicle's furniture
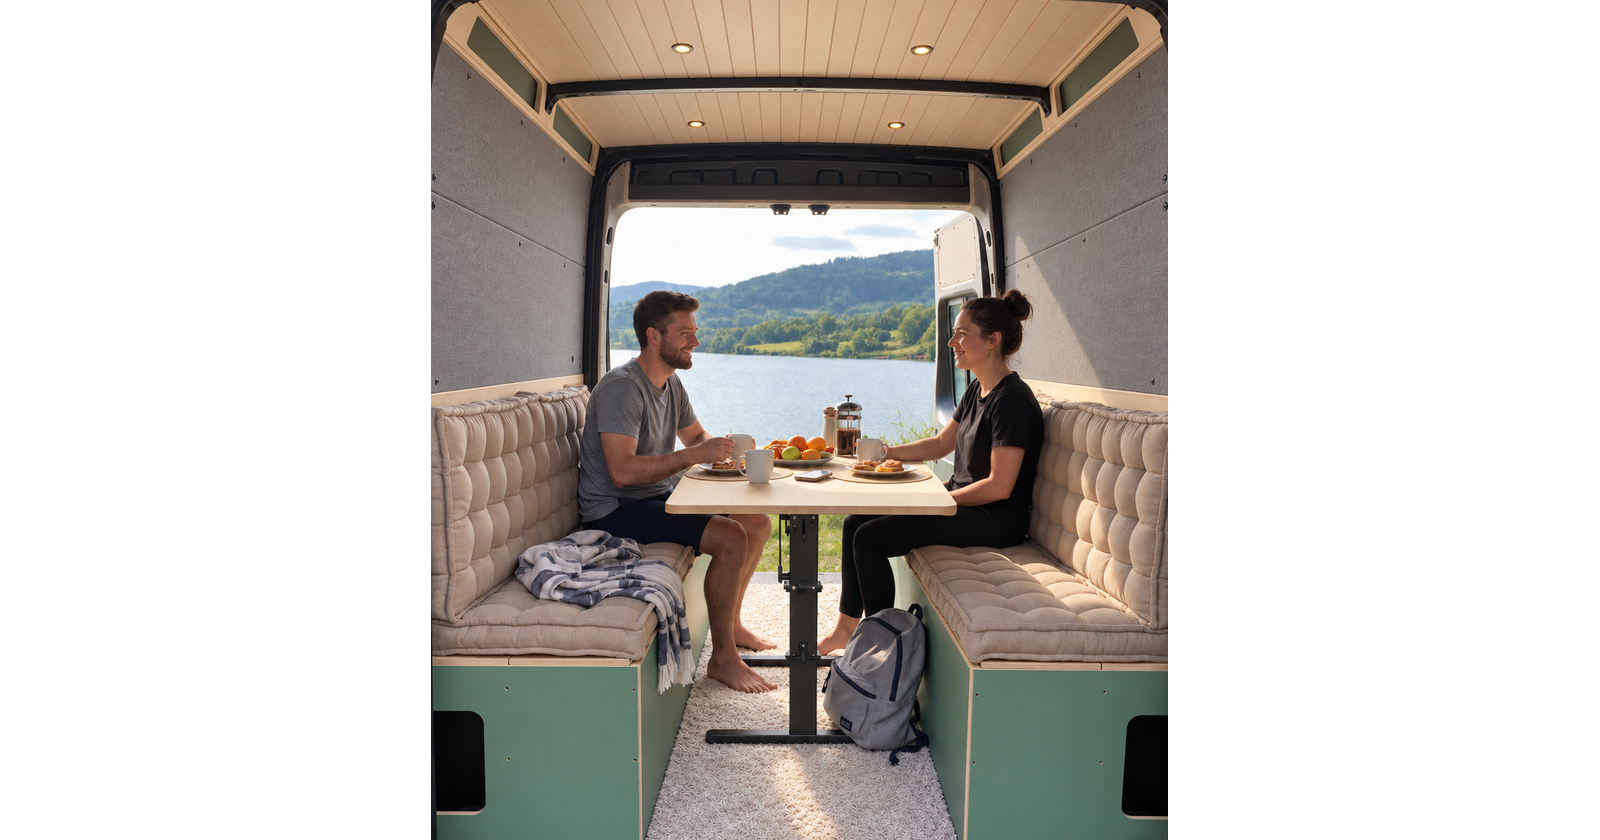
Building a camper van is a balancing act between durability, weight, and style.
Many of our Modules are delivered pre-finished, but sometimes the DIY spirit calls, and you want to leave, for example, plywood bed bases or customized details visible. In such cases, the right Surface Treatment is key! Although raw wood looks great when just installed, it is extremely sensitive to the challenging conditions of a camper van. Humidity fluctuations, temperature differences, and daily use quickly leave their mark. In this article, we'll explain why and how to treat wood surfaces so they last for years of life and travel.
Why you shouldn't leave raw surfaces Untreated?
A camper van is a small enclosed space where humidity inevitably rises with cooking, sleeping, and wet gear. Untreated Wood is like a sponge: it absorbs moisture, which can lead to cracking, warping, and, at worst, mold growth. Furthermore, keeping it clean is impossible – even a single spilled coffee cup or greasy fingerprint leaves a permanent mark on an unprotected surface.
How to treat raw surfaces: Step by step
1. Preparation and sanding
Before treatment, lightly sand the surface (grit 150–180) along the wood grain. This opens the wood pores, allowing the strong plywood to absorb the protective agent evenly. Remember to remove dust carefully – a clean base guarantees a professional result.
2. Choose the right agent according to its intended use
-
Oil waxes: An excellent choice for plywood. It leaves the wood feeling natural but repels water and dirt.
-
Translucent waxes: If you want to play with colors, the beautiful shades familiar from our selection can also be replicated on DIY surfaces with translucent waxes, which leave the wood grain visible.
-
Laminate surfaces: Remember that our cabinets with softwood frames are already pre-finished with high-quality Formica Laminate, which does not require treatment – it is designed to withstand heavy use and be easy to clean.
3. Treat both sides
To prevent the plywood sheet from warping ("cupping"), always treat both sides of the sheet. This is especially important for bed slats and base structures, where we use rigid domestic birch plywood.
Summary
A properly treated wood surface crowns the quality of Life4Van Modules. It makes your vehicle long-lasting, easy to maintain, and stylish. When the groundwork is done carefully, you can focus on what's essential: enjoying carefree travel.
Do you have questions about a specific treatment agent or need help with Material choices? Contant support – we are happy to help you with your project!


We use modern AI tools in marketing and communication. © 2026 Life4Van. All rights reserved. Site by atFlow Oy