-
Essential:
Essential cookies are essential for you to browse the website and use its features. Cookies that allow web shops to hold your items in your cart while you are shopping online and navigating the website are an example of strictly necessary cookies. Our website does not work without these cookies, so they are stored without your express consent.
-
Preferences cookies:
Preferences cookies can be used to change the user experience of our website. Preferences cookies allow a website to remember choices you have made in the past.
-
Statistics cookies:
Statistics cookies are used to collect information about how you use our website. None of this information can be used to identify you.
-
Marketing cookies:
Marketing cookies track your online activity. The purpose of marketing cookies is to help advertisers deliver more relevant advertising or to limit how many times you see an ad.


How we did it
Building a van for recreational use
Converting a van for recreational use
We documented the conversion work of our van step by step. Learn through pictures and videos how we built high-quality insulation and stylish surfaces in our Citroën Jumper. This van adapts to many uses: even though the interior underwent a transformation, the car still works great for transporting goods!
Step 1: Dismantling
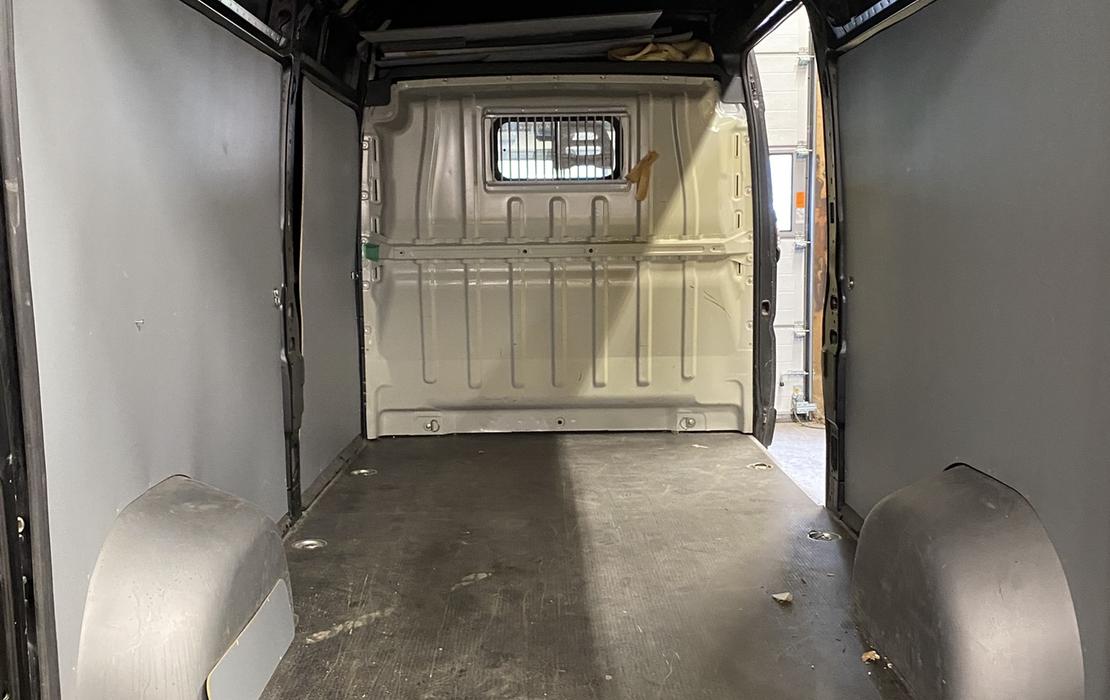
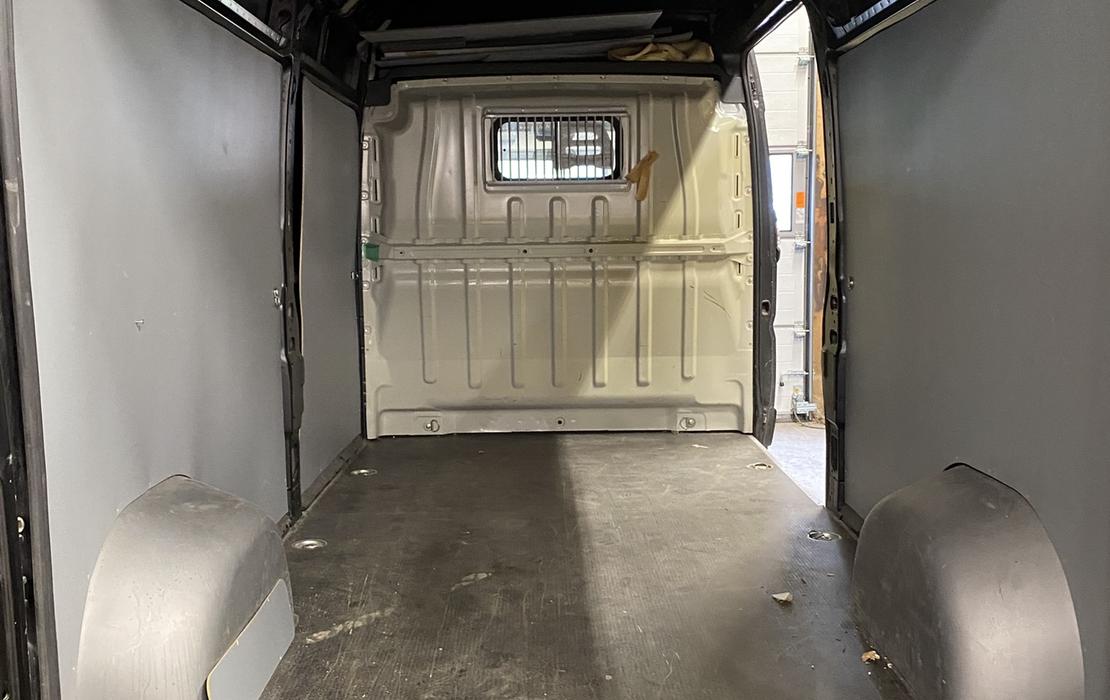
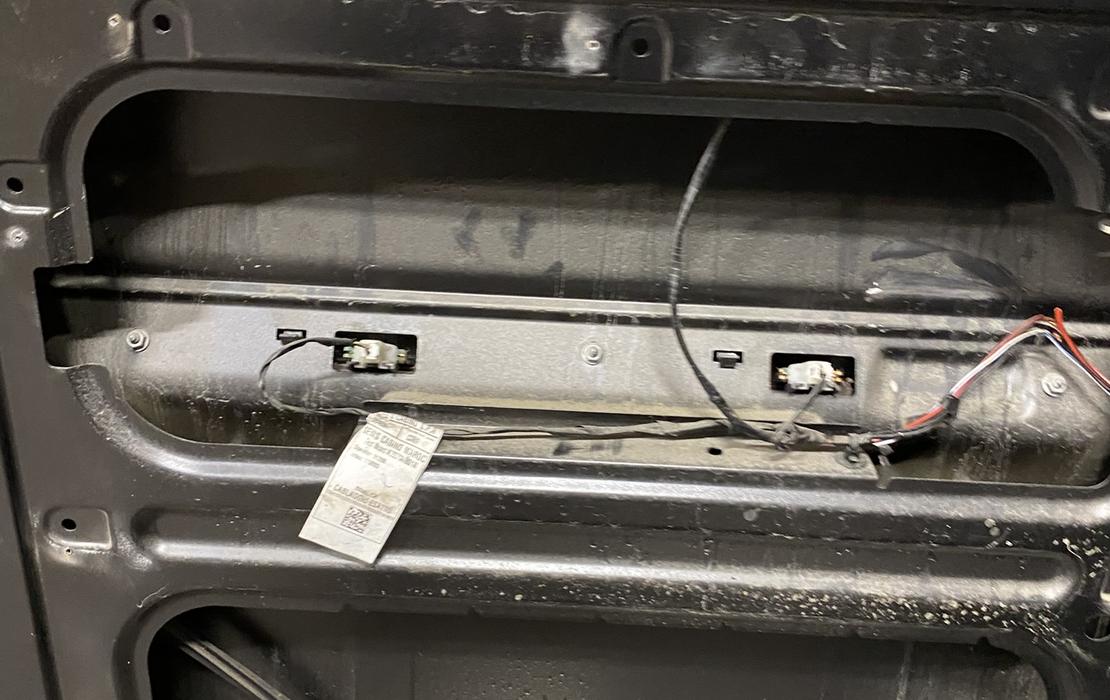
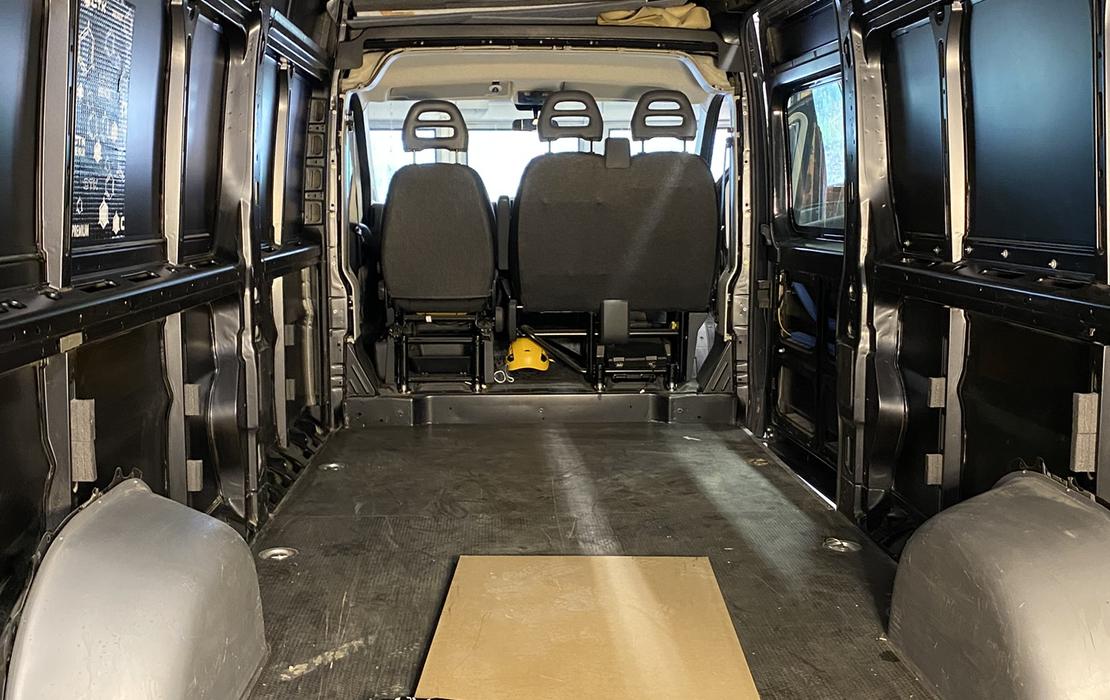
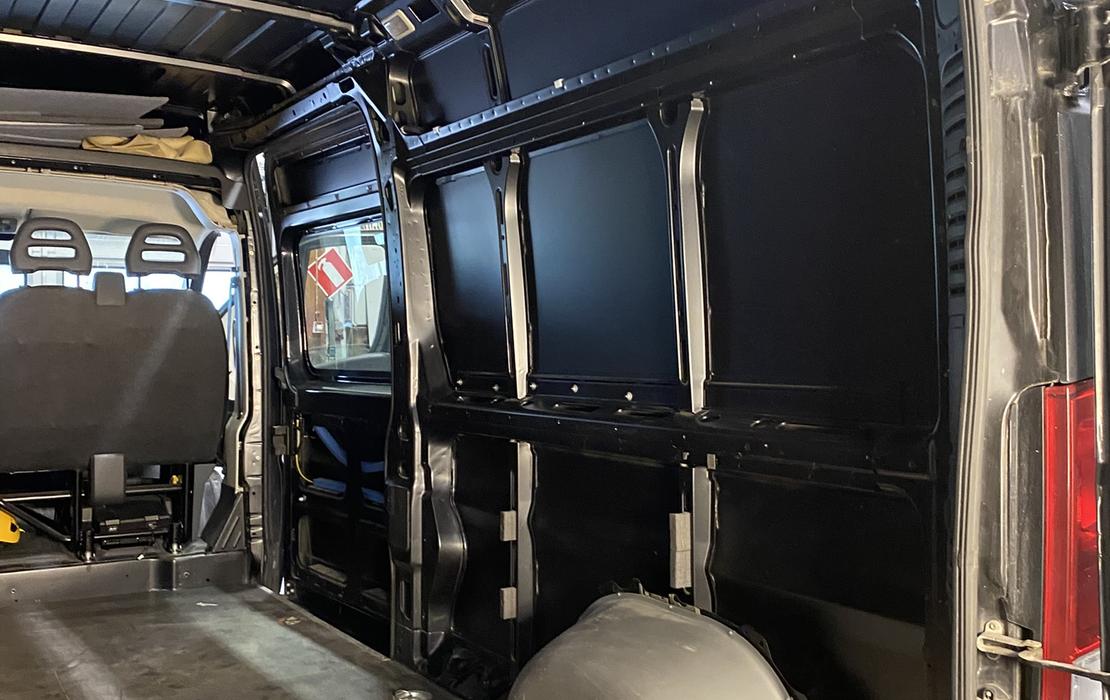
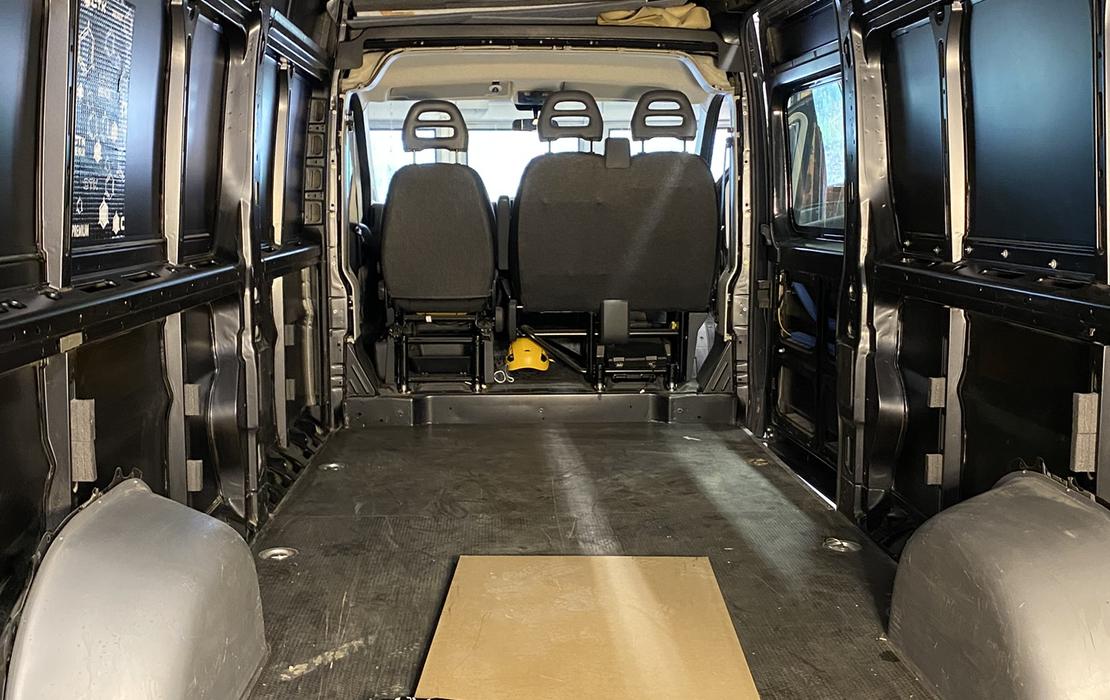
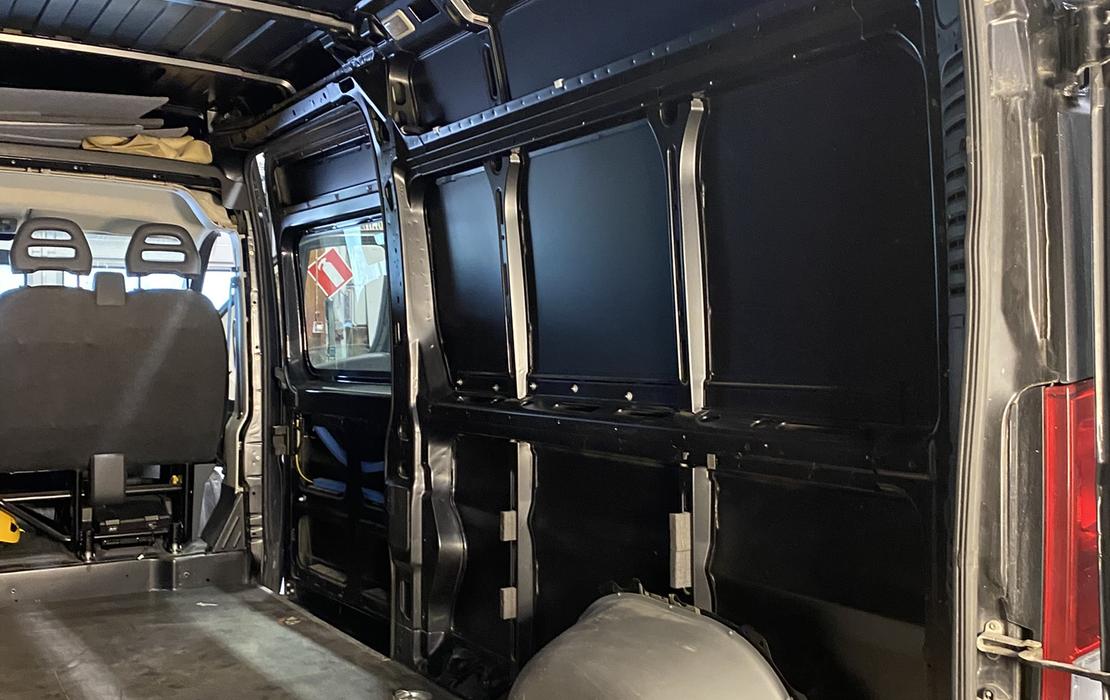
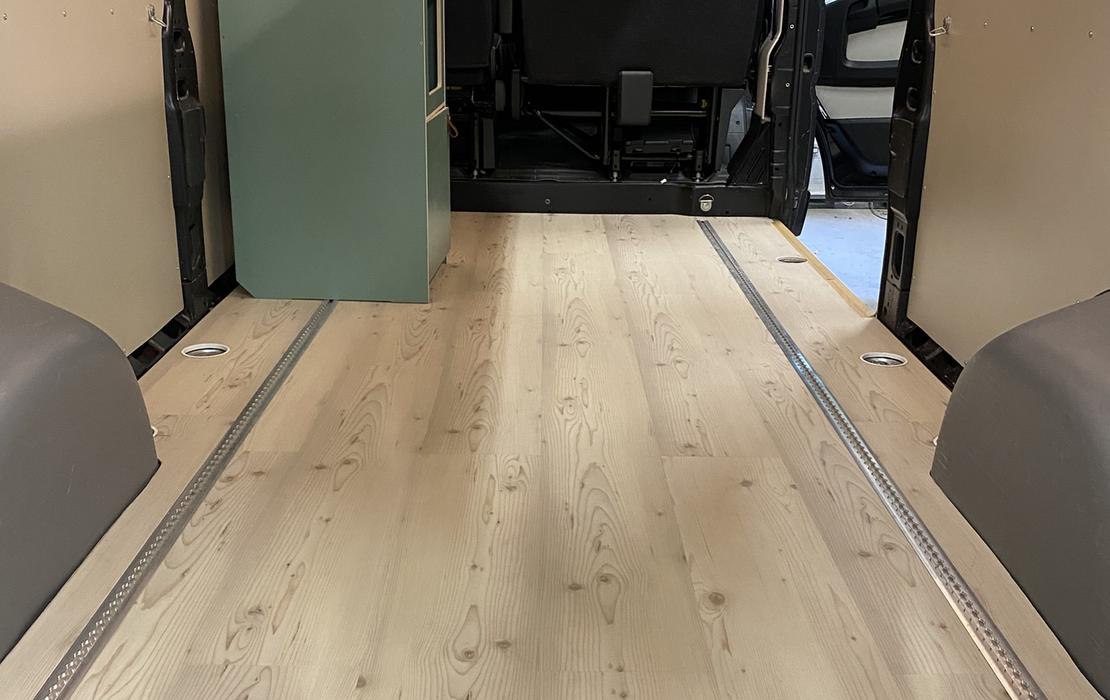
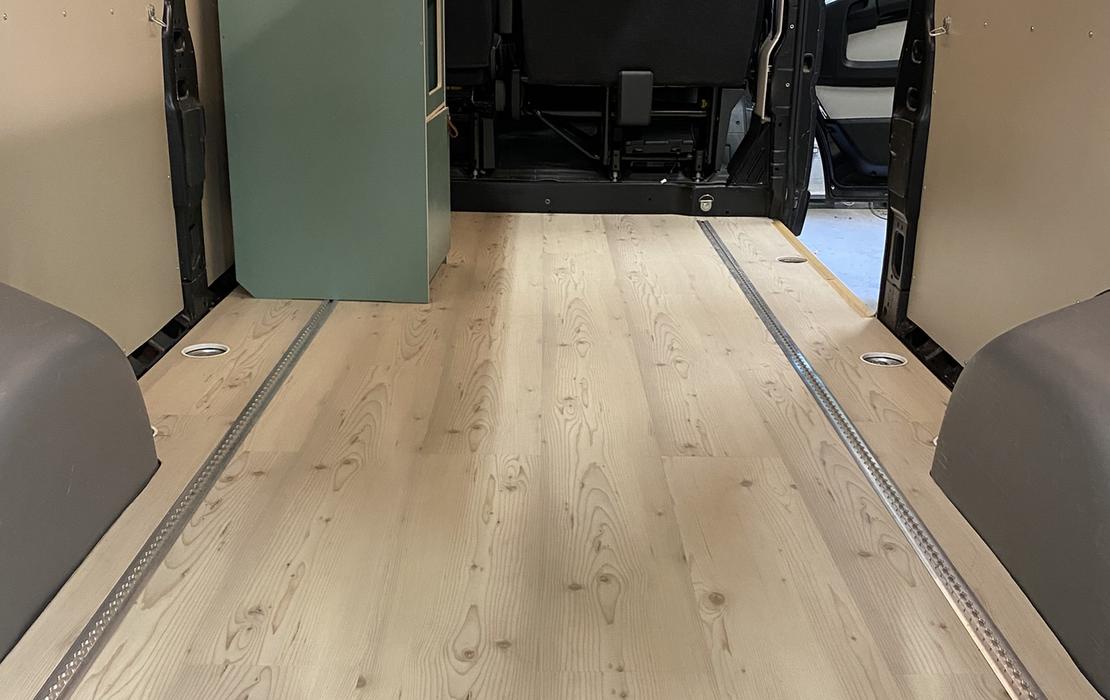
Before new surfaces and insulation can be built, the car's preparatory work must be done carefully. In the first phase, we removed the old protective plywood from the walls of the Citroën Jumper, but we did not remove the car's floor plywood. For the floor, we made grooves in the original plywood for mounting rails, and the floor material we chose already included 10 mm insulation.
Why were the wall plywood panels removed?
- To properly clean the metal surfaces before insulating.
- To check for possible hidden rust spots.
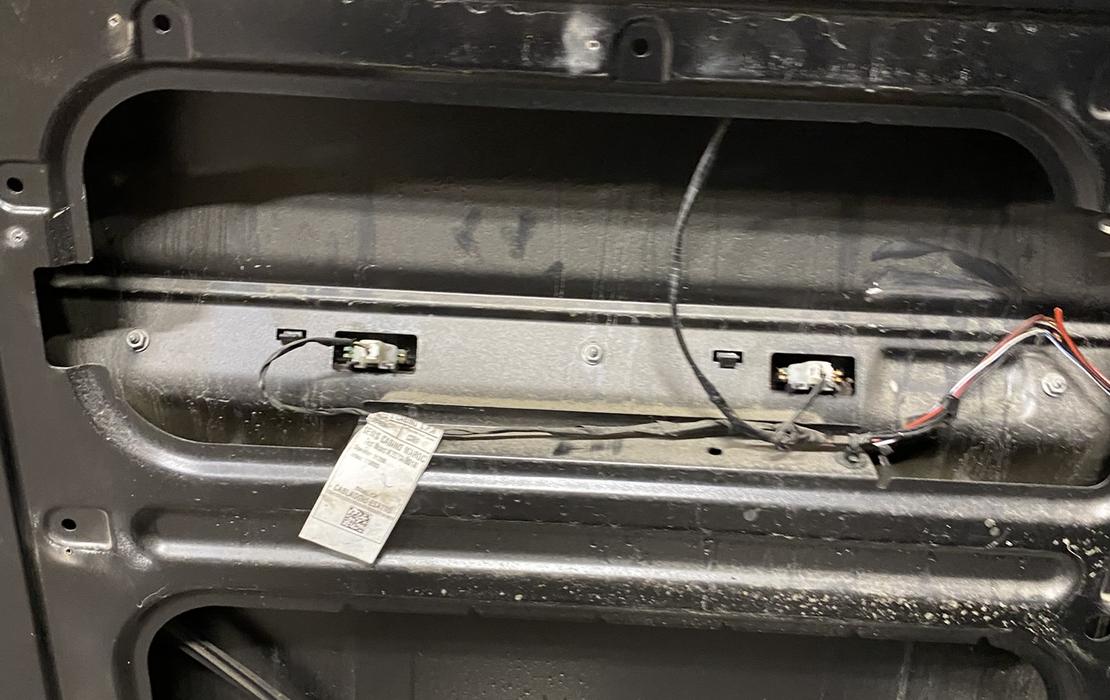
- For installing wiring and sound insulation (e.g., aluminum butyl).
Step 2: Building sound insulation
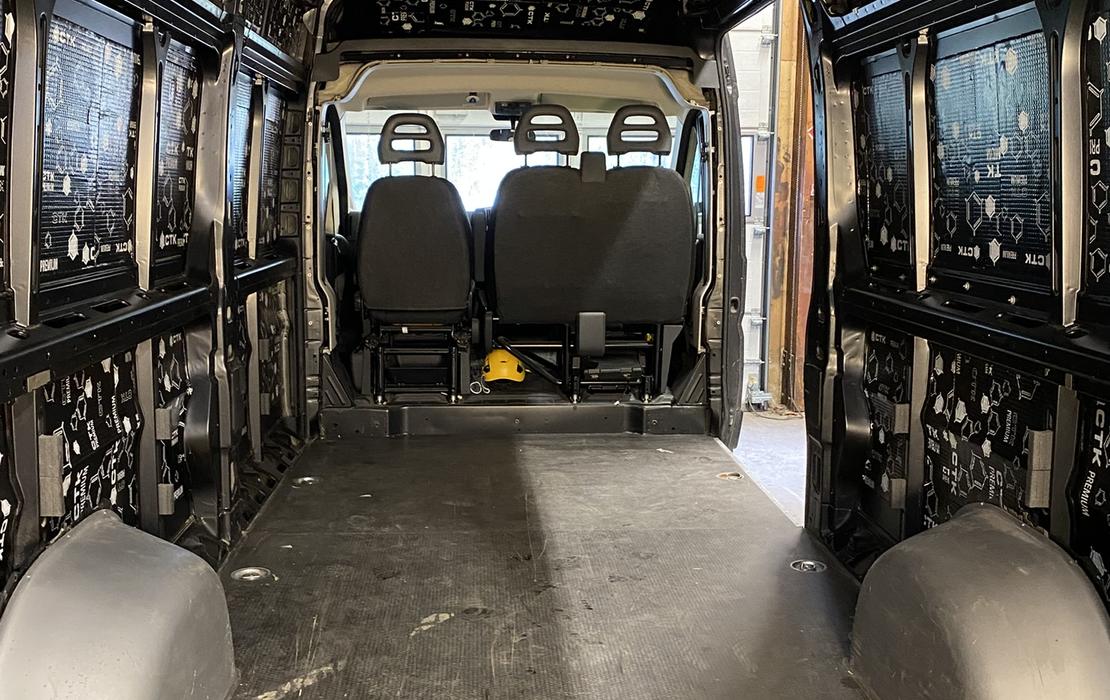
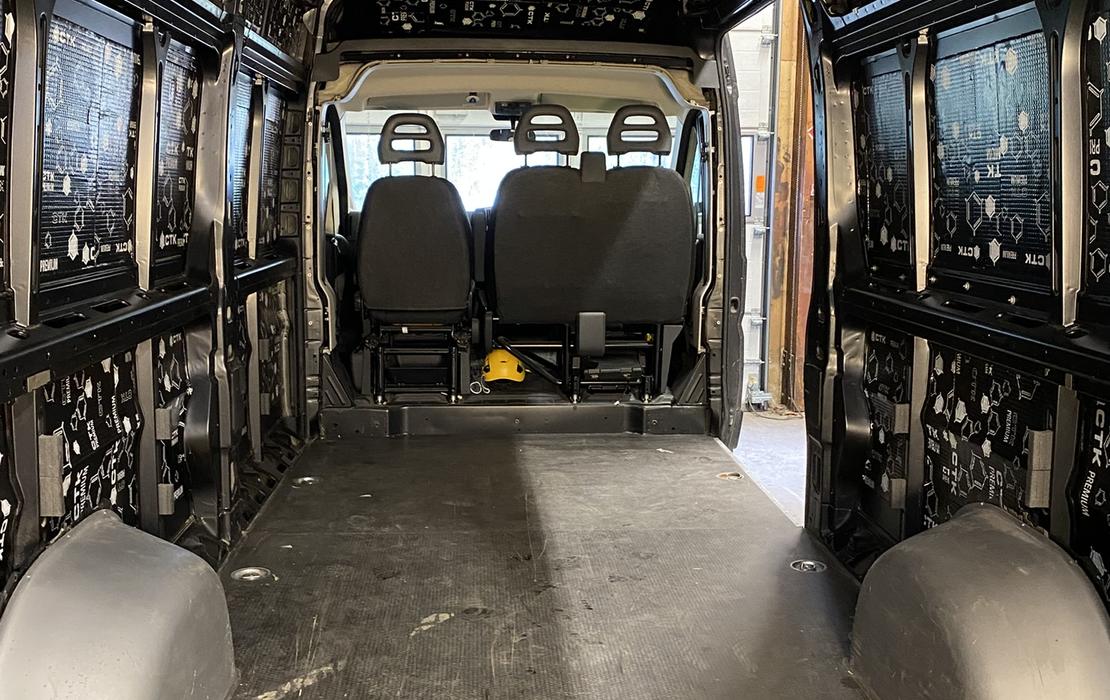
Once the plywood was removed and the metal surfaces were clean, it was time to move on to a critical phase for driving comfort: sound insulation. The bare metal surface resonates and rattles when driving, so we installed a high-quality CTK Premium 2.2 mm damping mat in the car.
Step 3: Wall insulation and building a new floor
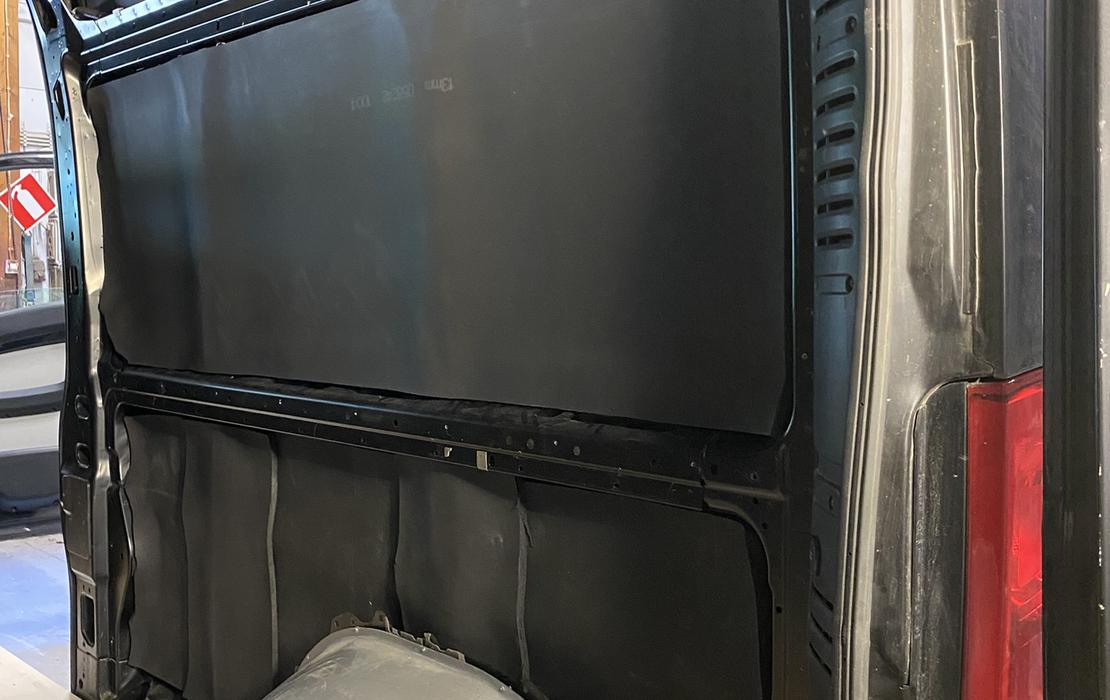
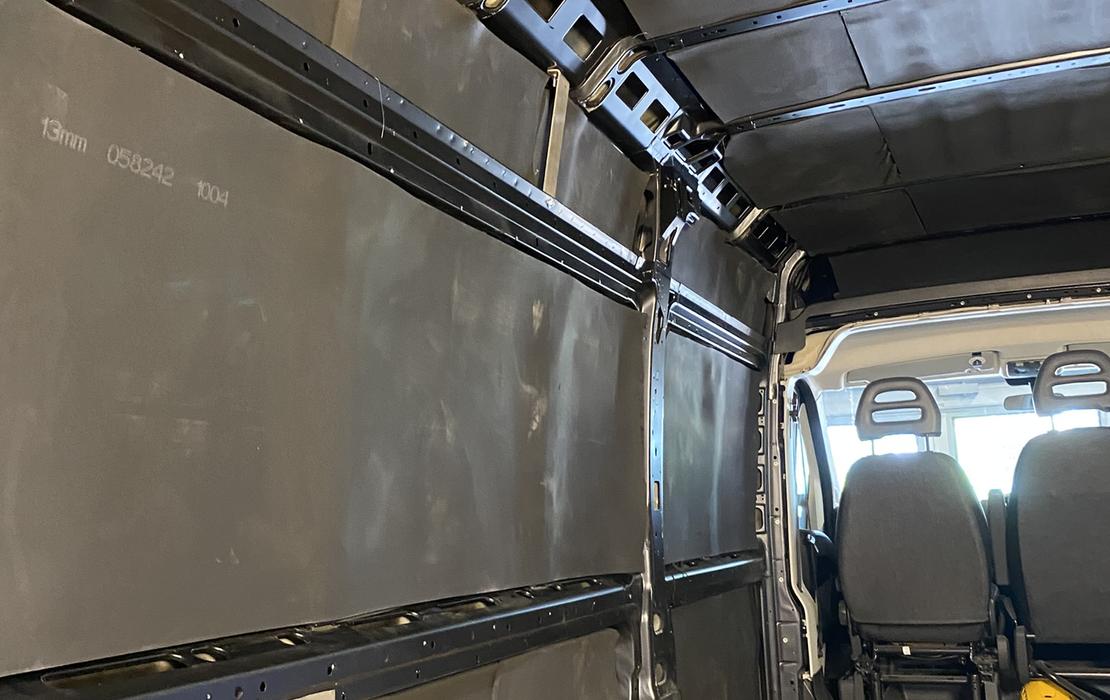
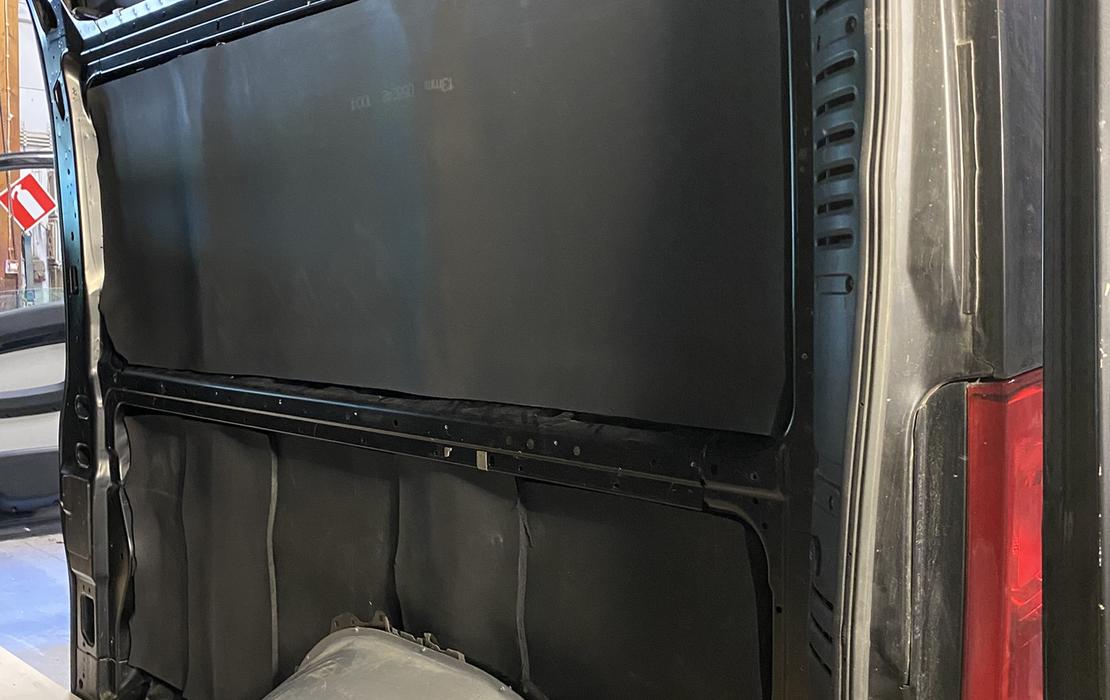
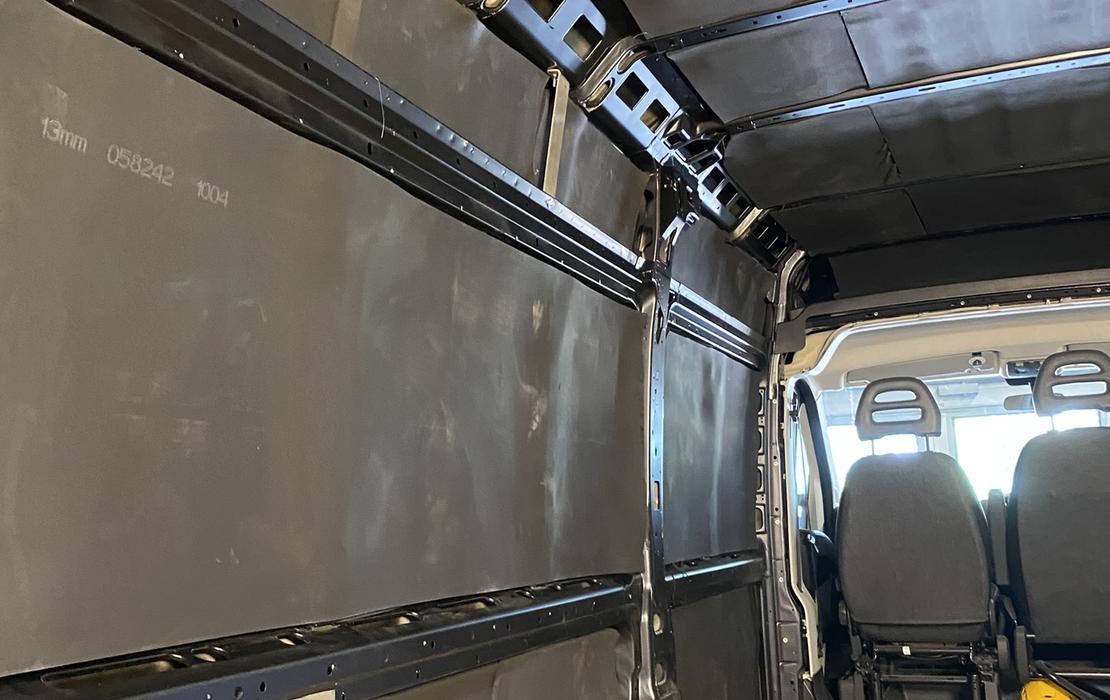
Insulating the walls ensures that the van stays cooler during summer heatwaves and warmer in cooler weather. In addition, the insulation layer completes the car's sound insulation, making the cargo area significantly quieter and more comfortable to travel in. For the car's thermal insulation, we used high-quality, self-adhesive black closed-cell foam insulation in two different thicknesses: Armaflex XG-19-99/EA (19 mm) and Armaflex (10 mm). Both insulations were utilized in insulating the car according to the surface shapes. The insulation materials were tightly installed between the frame structures of the Jumper's walls, and all possible cold bridges were minimized.
Durable base for transport: For the floor, the car's future use had to be considered: it must withstand heavy goods and wear, but also insulate against the cold radiating from the road surface.
Step 4: Roof, wall panels and mounting rails
Since the car was intended to serve both travel and cargo transport, we prioritized versatility in our solutions.
Roof and wall panels in place – Wood and light
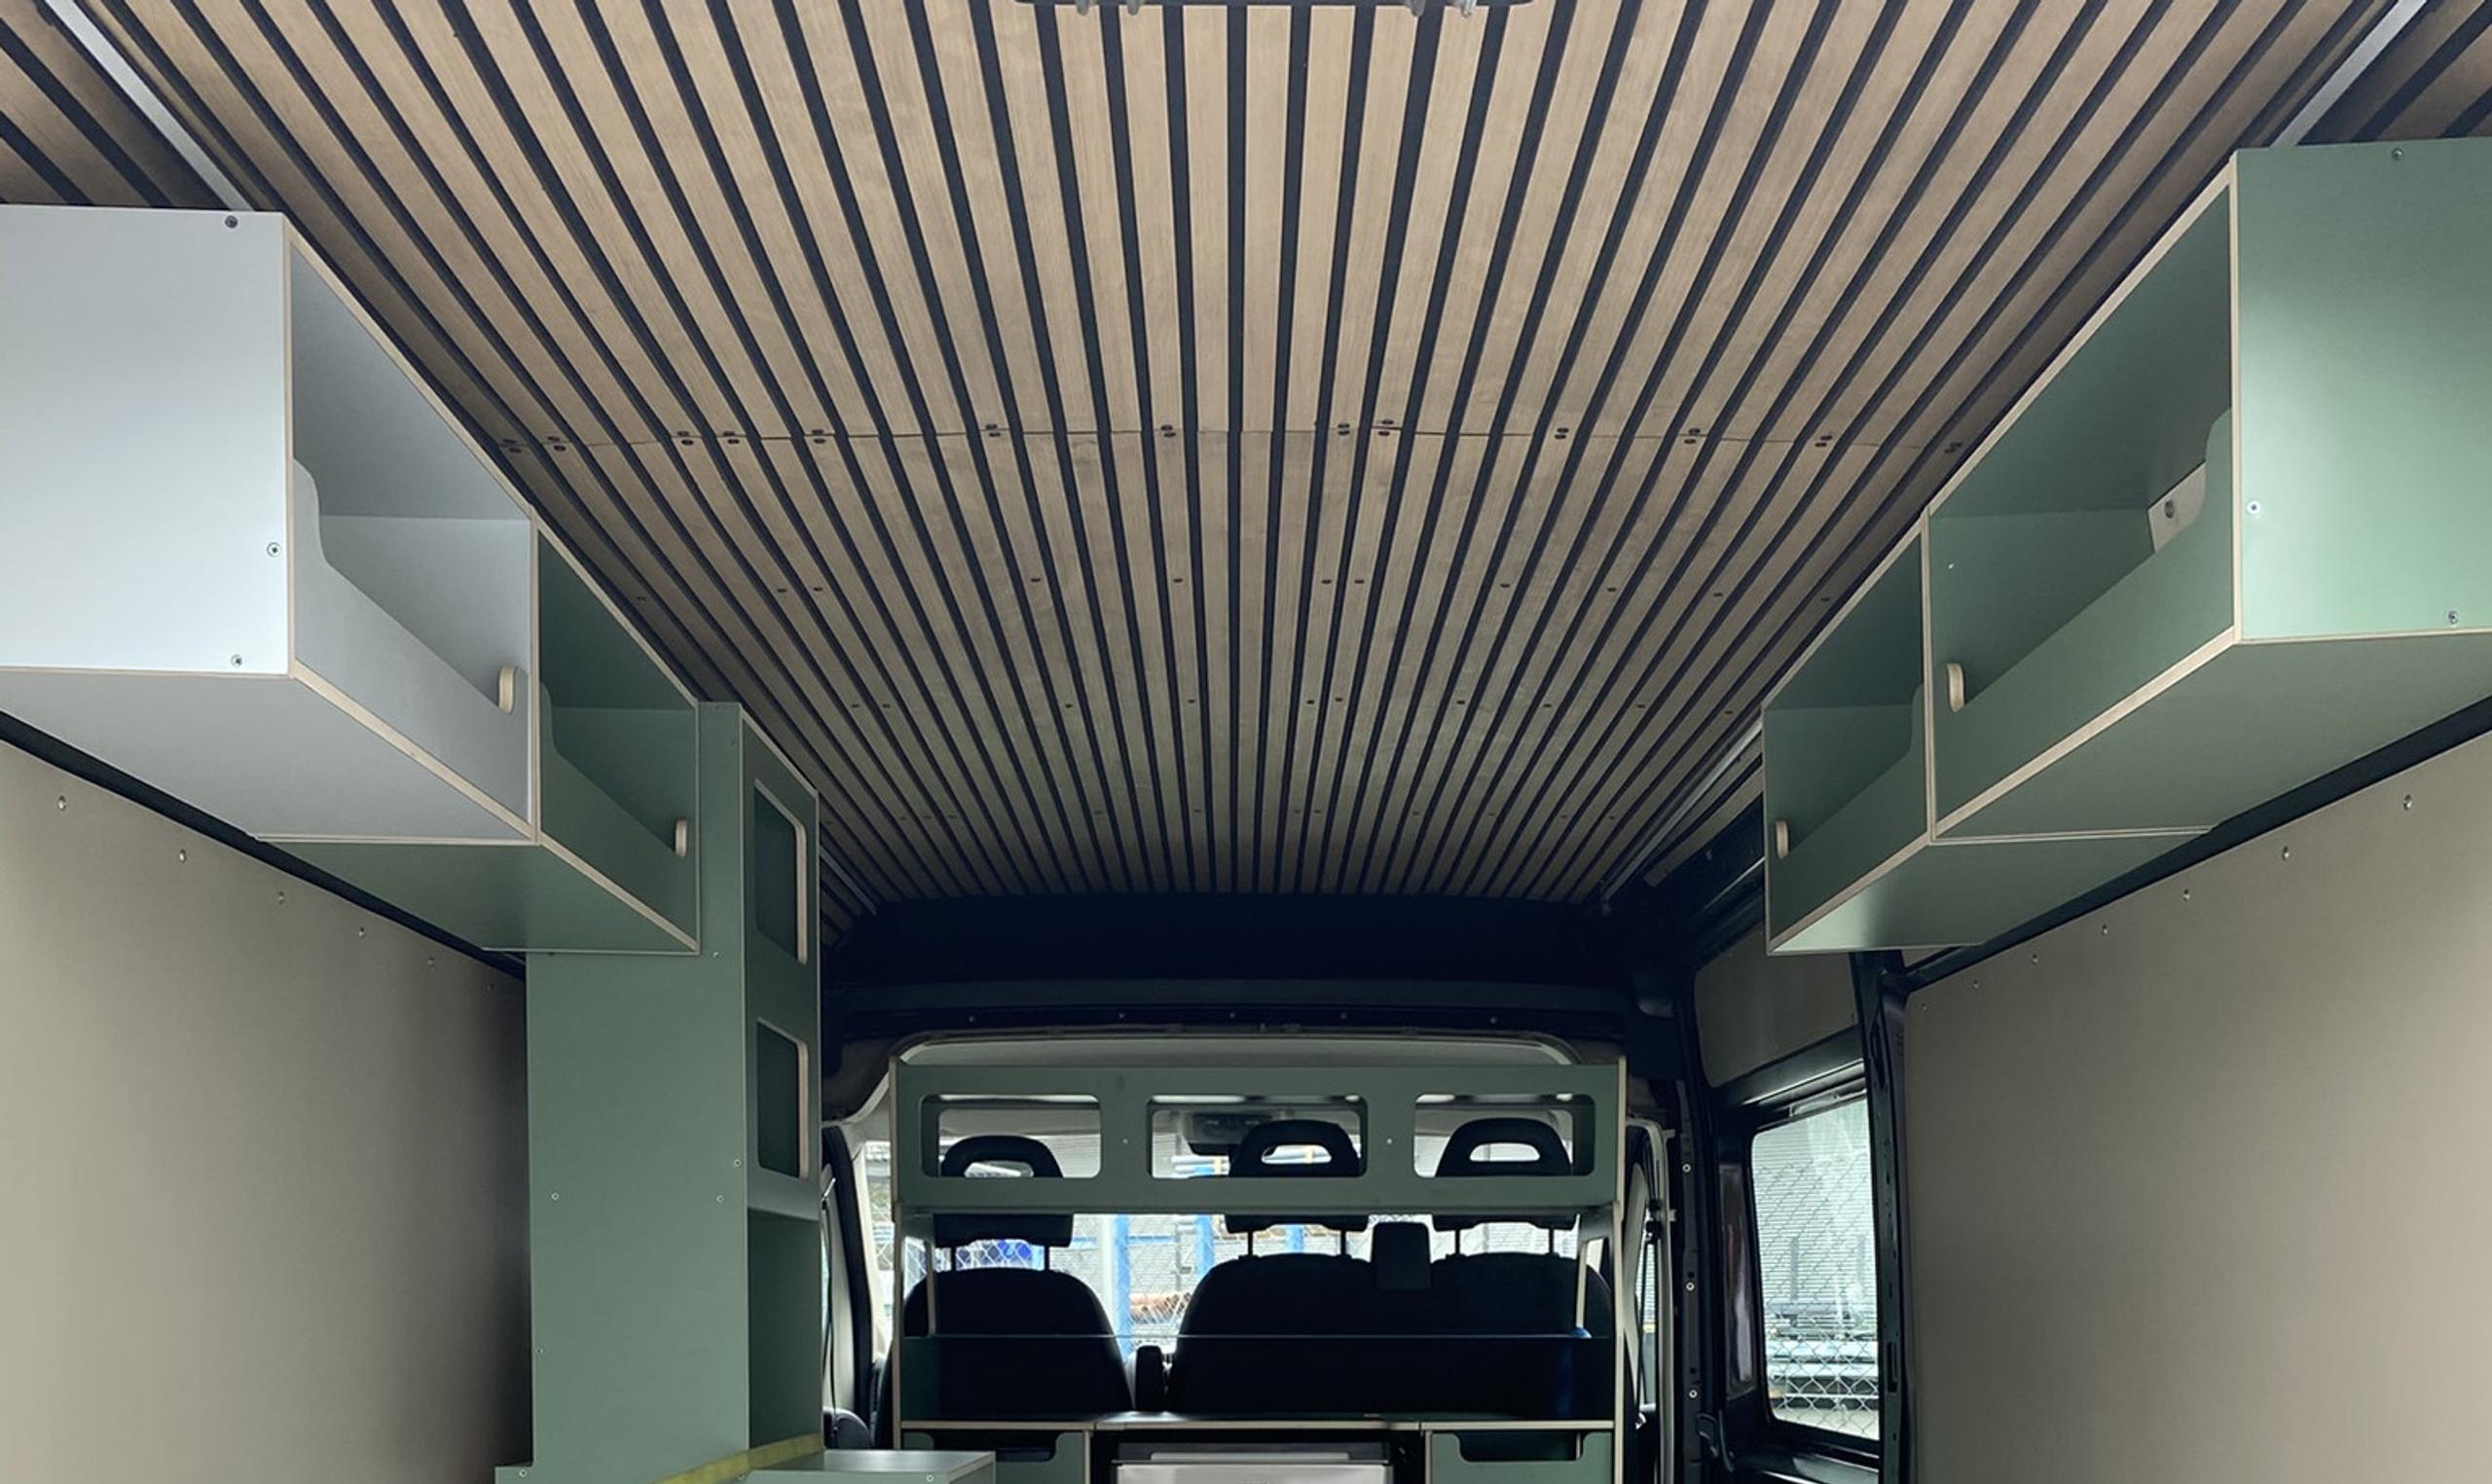
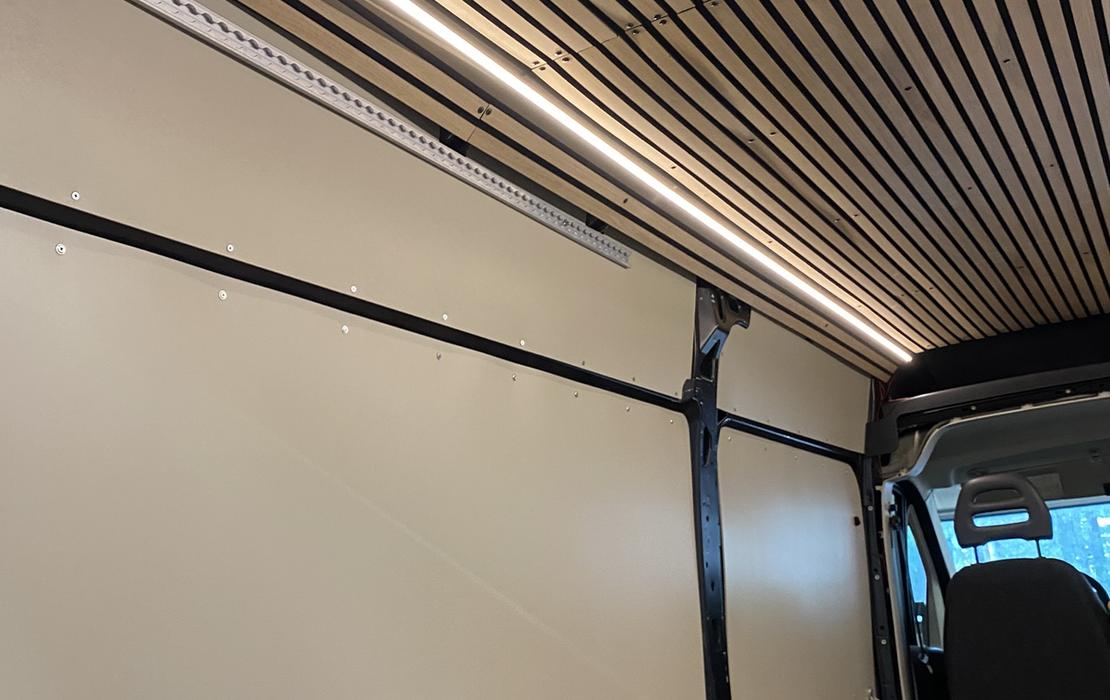
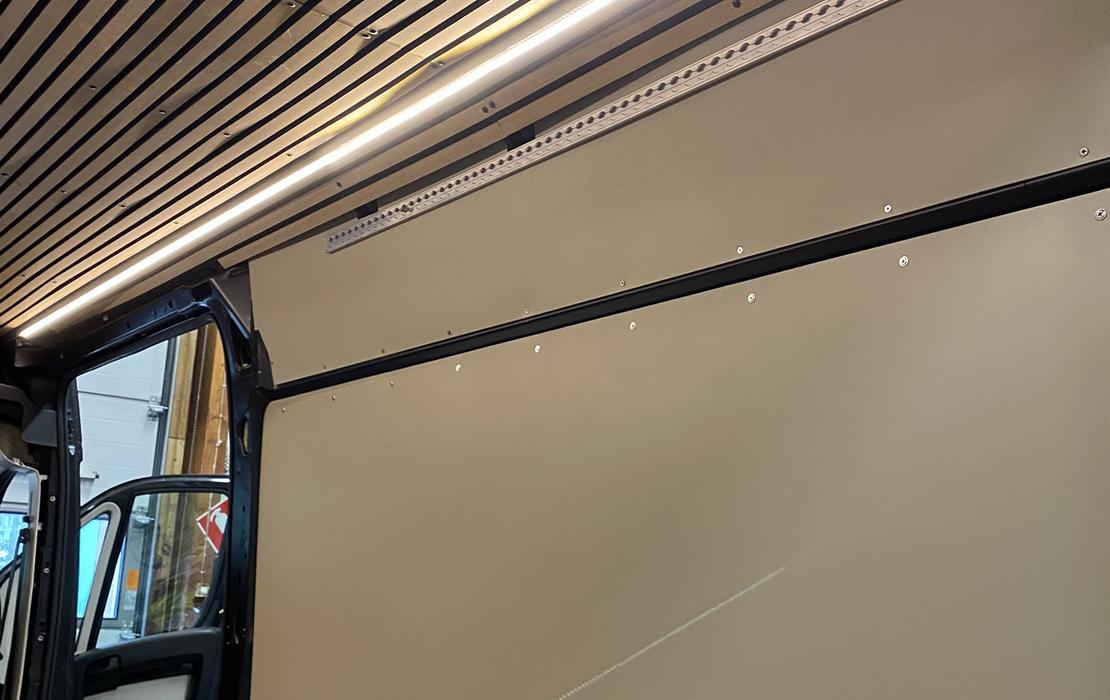
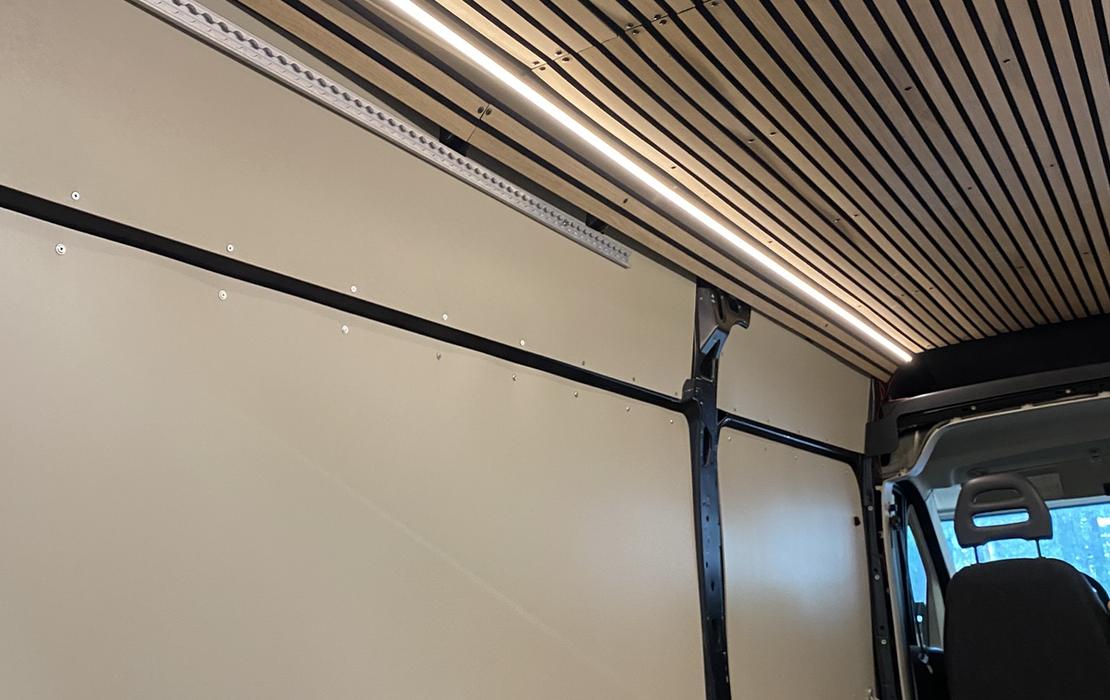
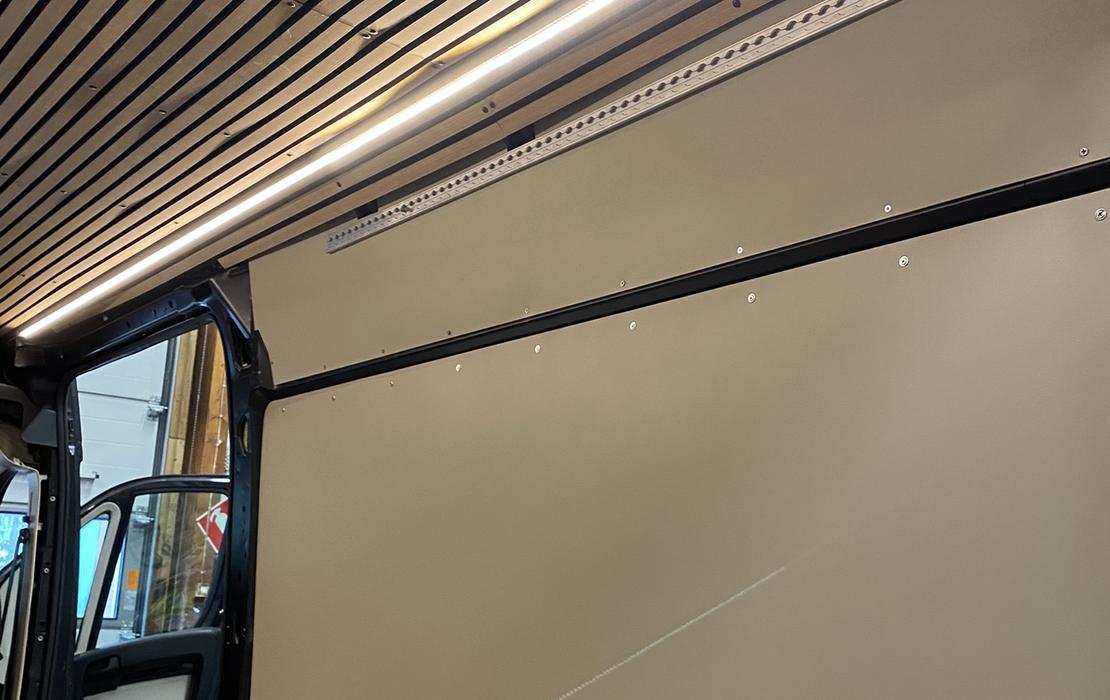
Stylish panels were installed over the wall and roof insulation, immediately giving the car a neat and cozy look. For the roof, we chose a beautiful wooden panel, into which we embedded stylish LED strips. The LED strips provide even, pleasant lighting, which works great both when packing items and when relaxing on a trip.
Rails and cargo lashing – For travel and work
To ensure the car functions seamlessly for both purposes, we made the following installations:
- Mounting rails on top and floor: We installed sturdy rails to which furniture, equipment, or cargo can be attached if needed.
- We left the original cargo lashing points on the floor visible and easily accessible. When the car is not in recreational use, larger cargo can be safely and compliantly transported in the cargo area using lashing straps.
The project is complete!
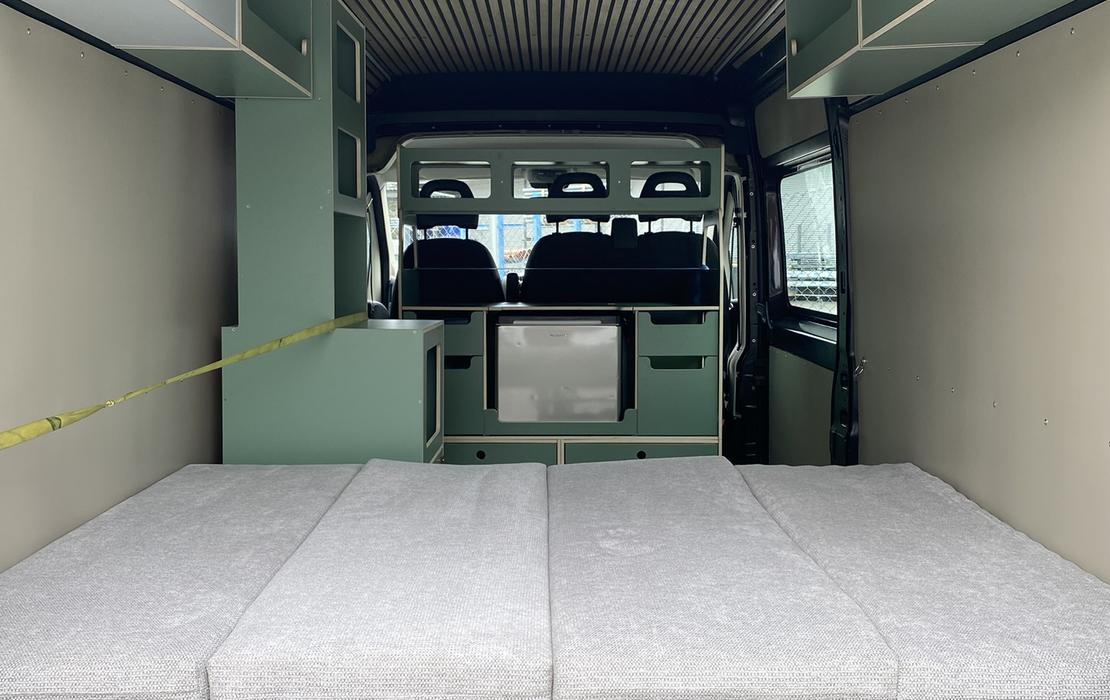
The project has been completed, and the result is exactly what we hoped for! The surfaces are ready, attachment points are in place, and the upper cabinets are securely fastened. The project proceeded very quickly, and all work could be done with ordinary household tools – so no expensive special tools or workshop were needed.
What was achieved in the project?
- The beautiful wooden roof panel with integrated LED strip and neat wall surfaces make the cargo area cozy and inviting.
- Driving comfort is now on a completely different level thanks to the damping mat and careful wall insulation.
- High-quality mounting rails and the visible original attachment clips ensure the car's versatility. The furniture is securely fastened with lashing straps, so it can be removed in an instant.
Would you like to hear more or do you have any questions?
Our expert team is happy to help you. Feel free to contact us by email or using our contact form, and together we will find the best solution for you.
Also, check out our frequently asked questions!
